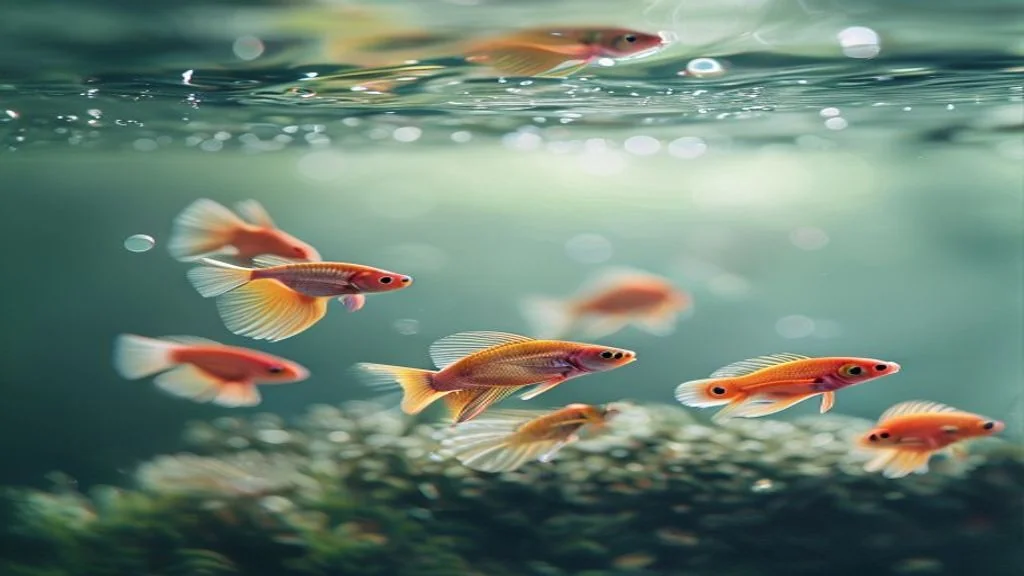
Good betta fry care is where breeding is genuinely won or lost, spawning is the easy part, and a tank full of hatchlings can crash within days without the right routine. This week-by-week guide gives you the realistic timeline from yolk-sac hatchlings to jarred juveniles: when to pull the male, exact temperatures, the tiny-water-change technique, the labyrinth-organ stage, and the jarring deadline that overwhelms unprepared breeders.
The Critical First Move: Removing the Male
The male tends eggs and newly hatched fry hanging in the nest, leave him for that. But once fry are free-swimming horizontally (usually 3–4 days post-hatch), remove the male. Beyond this point his instinct to “nest” them can turn into eating them. Timing this is the single biggest fry-stage decision (the egg/hatch stage is covered in betta fish eggs).
Betta Fry Care Week-by-Week Timeline
| Age | What’s happening | Your job |
|---|---|---|
| Day 1–2 | Fry hang from nest, absorb yolk sac | Do not feed; keep still, warm, dim; male tends |
| Day 3–4 | Fry become free-swimming (horizontal) | Start tiny food; remove the male |
| Week 1 | Microscopic, fragile | Infusoria/vinegar eels/liquid fry food 3–4×/day; 5–10% gentle daily water change |
| Week 2 | Bigger, stronger | Start baby brine shrimp (BBS); sponge filter on lowest setting |
| Weeks 3–4 | Rapid growth; colour starts | BBS staple; slowly raise water level; larger water changes |
| Month 2 | Juveniles; labyrinth organ developing | Bigger portions; keep tight lid + warm air gap |
| ~Week 8–10+ | Males show aggression to each other | Jar males individually; cull/rehome plan |
Feeding specifics by age are detailed in what to feed betta fry.
Water & Temperature: Fry Are Not Mini Adults
- Warmer than adults: 82–85°F supports their fast metabolism and growth (adults are 78–80°F, see betta water temperature).
- Tiny, gentle water changes: 5–10% daily with airline tubing/a baster, fry are easily sucked up or shocked. Uneaten food fouls water fast, so cleanliness is constant.
- Tight lid + warm air gap: essential. Fry develop the labyrinth organ around weeks 3–6 and gulp surface air, cold draughty air at that stage damages it.
- Sponge filter only, low: any real current exhausts or kills fry; introduce gently around week 2.
- Pristine water = survival: ammonia is lethal to fry, same discipline as cycling and disease prevention.
The Jarring Reality (Plan This Before You Breed)
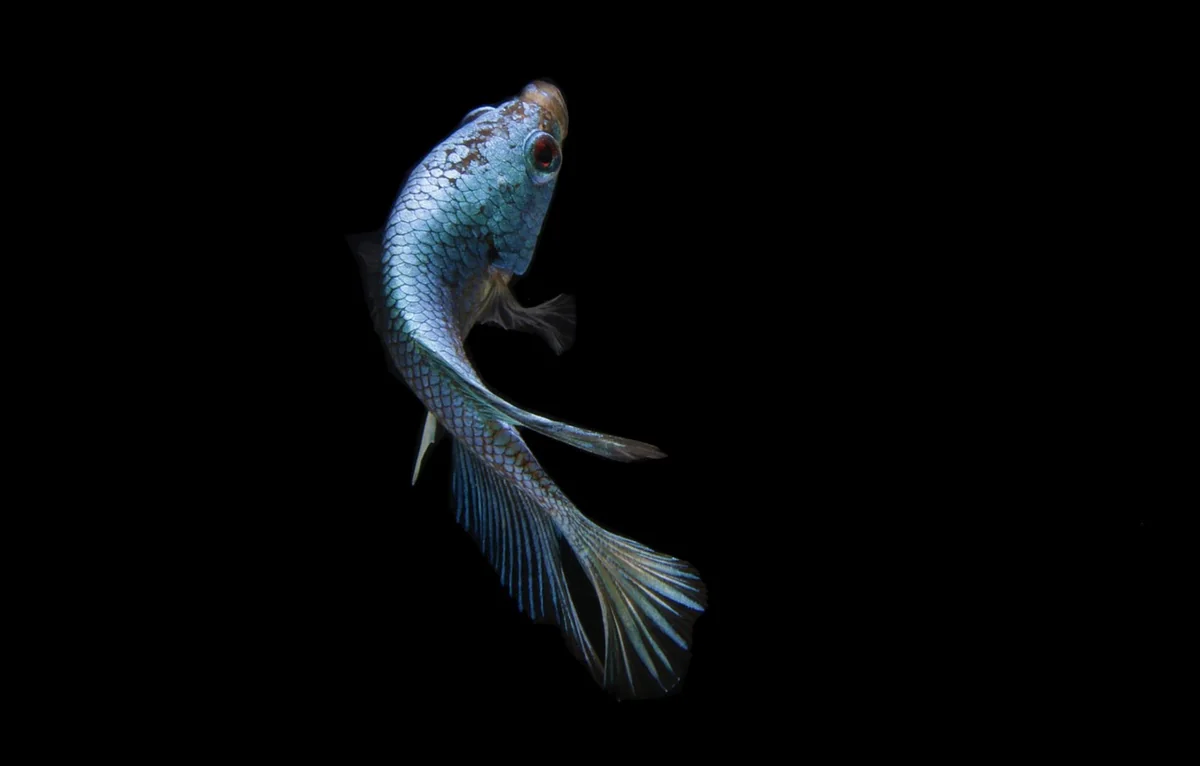
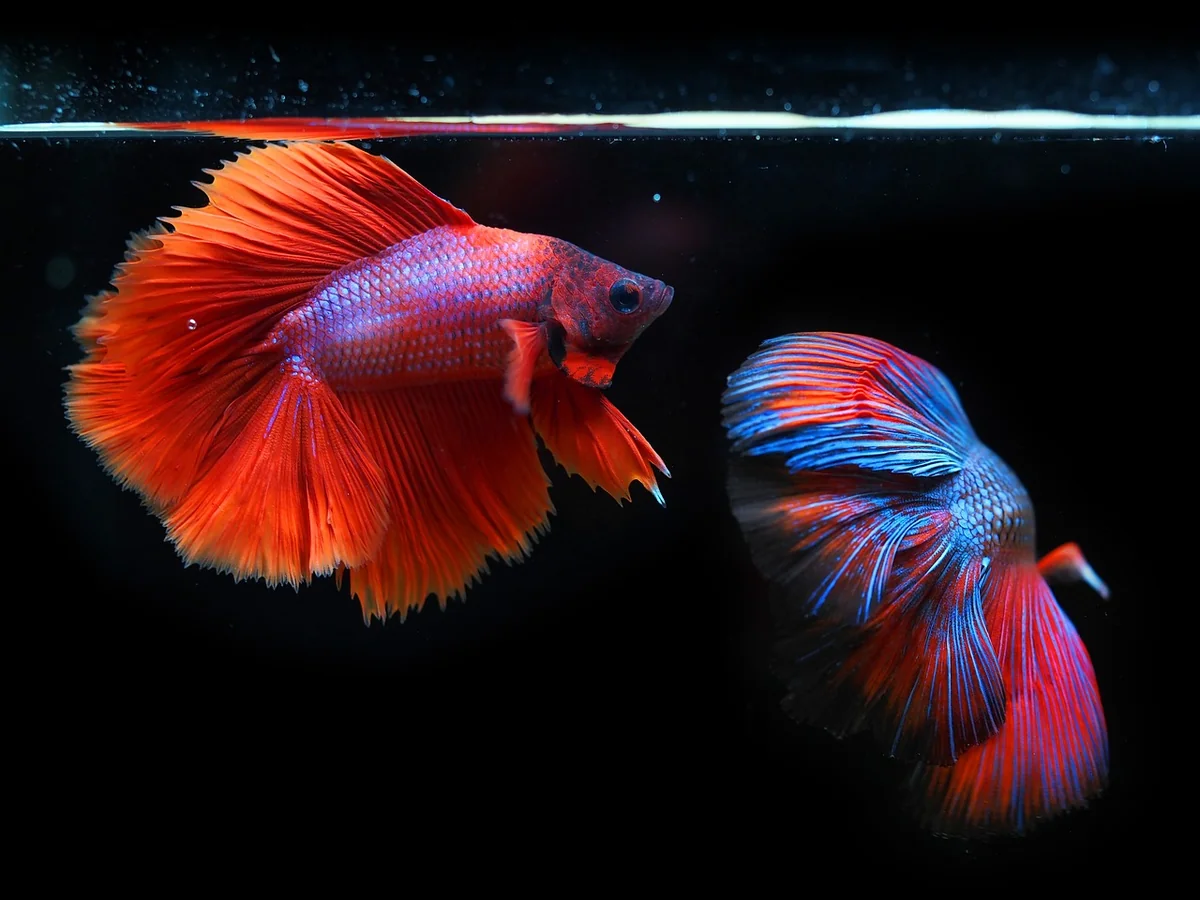
Around 8–10 weeks, young males become aggressive and will fight, often to the death, see the instinct explained in betta aggression & chasing. Every male needs its own jar/container with heated, clean water and daily maintenance. A spawn of 50–100 means 50–100 containers and a serious daily workload. Females can sometimes be grown out together with care, but males cannot. Without a rehoming/grow-out plan, you will be overwhelmed, this is the realistic commitment the main breeding guide warns about.
Day 0–4: The Yolk-Sac and Free-Swimming Transition
The most fragile and most misunderstood window is the first four days. After hatching, fry are essentially helpless: they hang vertically from the bubble nest by a sticky head filament, tails pointing down, doing little but twitching. They are not hungry, they are absorbing an internal yolk sac, and any food added now simply rots and spikes ammonia. The single biggest day-one error is feeding too early. The male is still working hard here, catching fry that fall and spitting them back into the nest; leave him to it.
Around day 3–4 the fry “level out”: instead of hanging head-up they begin swimming horizontally and exploring. This horizontal, free-swimming behaviour is the precise trigger for two simultaneous actions: start feeding microscopic food, and remove the male. Miss this window in the other direction, leaving the male too long after fry are free-swimming, and his nesting instinct can flip to predation.
Setting Up the Rearing Environment
Fry are not miniature adults and a normal tank setup will kill them. The rearing environment has its own rules:
- Shallow water, gradually raised: keep the water low at first so tiny fry reach the surface easily and food stays within range; raise the level slowly over the first weeks.
- Bare bottom: a bare base lets you see uneaten food and siphon it without gravelling fry up.
- Sponge filter only, lowest setting: introduce it gently around week 2. Any real current exhausts or kills fry; a hang-on-back or canister intake is fatal.
- Tight lid with a warm air gap: non-negotiable from roughly week 3 onward for labyrinth-organ development.
- Dim, stable, low-traffic spot: stress and temperature swings are silent fry killers.
The Tiny Water-Change Technique (Step by Step)
Water changes keep fry alive but done carelessly they kill the very fry they are meant to protect. The method matters:
- Use thin airline tubing, not a gravel vacuum, so flow is slow and controllable.
- Put a fine mesh or a sponge over the intake end, or siphon into a clear container so you can spot and return any sucked-up fry.
- Remove only 5–10% at a time, focusing on the bottom where uneaten food and waste collect.
- Refill extremely slowly with dechlorinated, temperature-matched water (within a degree), drip it down the side or over a plate so the inflow doesn’t blast the fry.
- Do this daily once feeding starts; uneaten micro food and brine shrimp foul a small volume within hours.
This gentle discipline is the practical companion to the feeding plan in what to feed betta fry.
The Labyrinth-Organ Stage (Weeks 3–6)
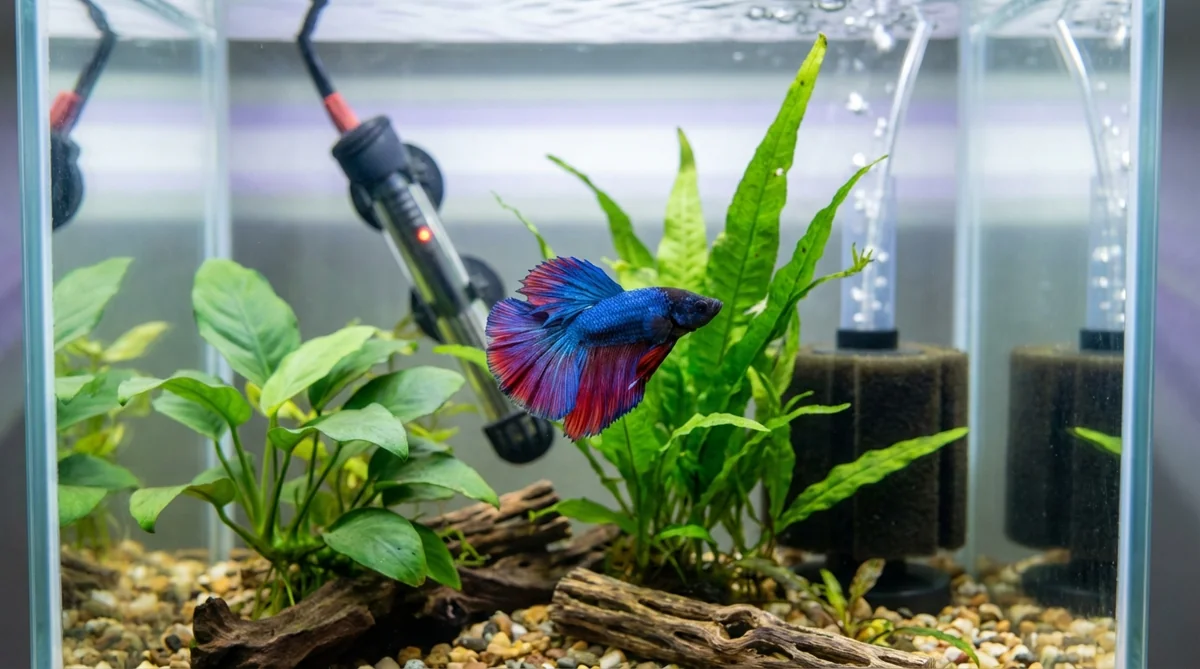
Bettas are anabantoids, they breathe atmospheric air through a labyrinth organ, and that organ develops during roughly weeks 3 to 6, not at hatch. During this window the fry begin rising to gulp air at the surface. If the air directly above the water is cold or draughty, the temperature shock as they hit that air can damage the developing organ and cause losses or weak adults. This is the entire reason a tight lid trapping a layer of warm, humid air is mandatory through the fry stage. Resist lifting the lid frequently during these weeks, and never run an open-top fry tank in a cool room.
Growth, Culling and Sorting by Size
Fry do not grow evenly. Within the same spawn some shoot ahead while others lag, and the larger fry will out-compete, bully, and sometimes cannibalise smaller siblings. Responsible fry care includes managing this: feed enough and often enough that competition is reduced, and from around week 4–6 consider sorting fry into size grades across containers so the small ones get a fair share of food. Many serious breeders also cull obviously deformed or non-thriving fry early, an uncomfortable but standard part of ethical breeding that prevents suffering and keeps quality lines viable. Judge each fry against signs of a healthy betta as they develop.
Sexing and Rehoming the Juveniles
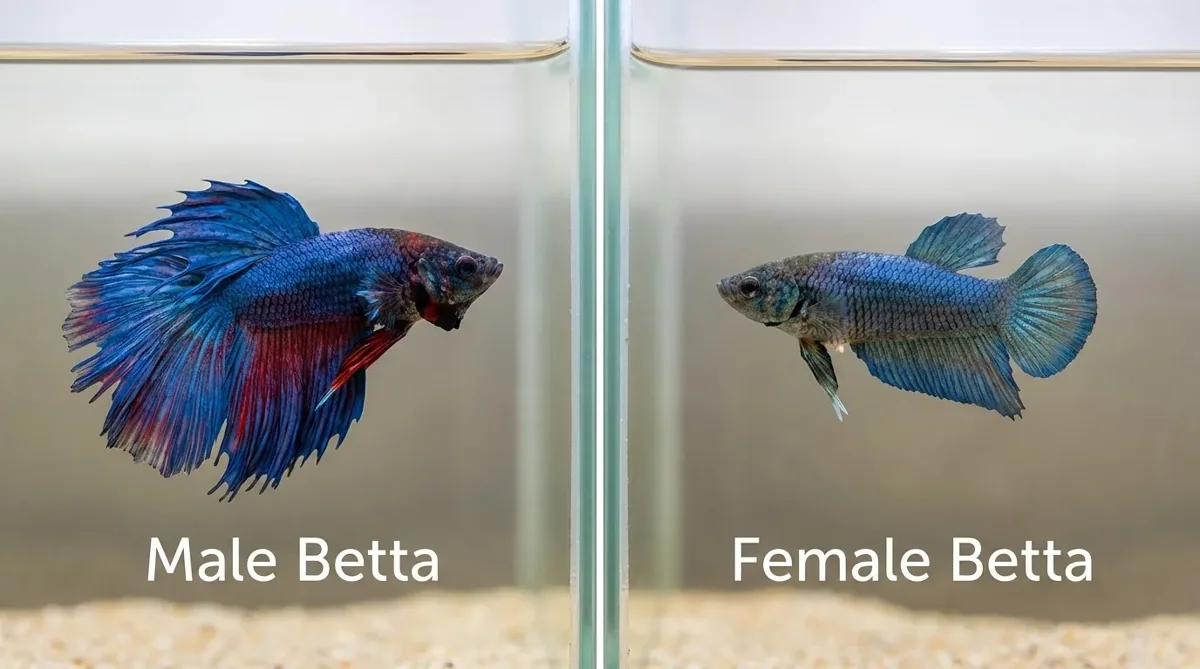
By the time you are jarring males, you are also sexing the spawn. Males generally show longer fins, more intense colour, and that telltale aggression earlier; females stay rounder-bodied with shorter fins and tolerate company better. Use male vs female bettas to confirm as they mature. Crucially, the rehoming plan must already exist: local aquarium clubs, hobbyist buyers, ethical local fish stores, or kept stock, never a vague “I’ll figure it out later.” A spawn matures into dozens of fish needing homes within months, and an unplanned grow-out is the single most common reason casual breeding ends badly.
Realistic Survival Expectations
Even with good care, not every fry survives, losses in the first two weeks are normal. A realistic outcome from a 40-egg spawn might be a few dozen healthy juveniles. Judge success by healthy, well-grown fry, not by zero losses. Track development against signs of a healthy betta as they grow.
What to Feed Betta Fry: Food Chart by Age
The most common reason a whole batch of fry dies in week one is starvation, because the right food was not ready or was too big for their mouths. Start your cultures during conditioning, before the eggs are even laid.
| Age | Food | How often |
|---|---|---|
| Day 1–2 | Nothing (living on the yolk sac) | None |
| Day 3 to week 1 | Infusoria, vinegar eels or liquid fry food | 3–4 times a day, tiny amounts |
| Week 2 | Newly hatched baby brine shrimp, plus microfood | 2–4 times a day |
| Weeks 3–4 | Baby brine shrimp as the main food | 2–4 times a day, larger amounts |
| Month 2 | Brine shrimp, microworms, finely crushed quality pellets | 2–4 times a day |
| Month 3 onward | Crushed, then small pellets, moving toward the adult diet | 2–3 times a day |
Fry feeding problems
| What you see | Likely cause | Fix |
|---|---|---|
| Mass die-off in week one | No food ready, or food too big | Week one must be infusoria or vinegar eels |
| Thin, sunken bellies | Underfeeding or food they cannot swallow | Feed more often, in smaller sizes |
| Sudden losses after good growth | Ammonia from uneaten food | Smaller feeds; gentle daily water changes |
| Some fry left behind in size | Food size changed too early | Overlap old and new foods for a few days |
| Cloudy, smelly water | Too much liquid food, or unrinsed brine shrimp | Use liquid food sparingly; always rinse brine shrimp |
Sources & Further Reading
Hepper (vet), feeding/raising betta fry; Wild Betta Blog, caring for betta fry; Beautiful Bettas, feeding the fry; Aquifarm, fry week-by-week schedule; Hepper (vet), What to Feed Betta Fish Fry; Aquifarm, fry food week-by-week; Wild Betta Blog, betta fry.
Frequently Asked Questions
When do I remove the male betta from the fry?
Once the fry are free-swimming horizontally (usually 3–4 days after hatching). Before that he tends them; after that he may eat them.
Do I need to feed newly hatched betta fry?
Not for the first 24–48 hours, they live off their yolk sac. Start tiny live foods only once they’re free-swimming.
What temperature do betta fry need?
Warmer than adults, about 82–85°F, to support their rapid growth, with a tight lid and warm air gap for labyrinth-organ development.
How often should I do water changes for betta fry?
Small 5–10% changes daily using gentle airline tubing or a baster, since fry are fragile and uneaten food fouls water quickly.
How many betta fry usually survive?
Losses in the first two weeks are normal; from a ~40-egg spawn a realistic result is a few dozen healthy juveniles with good care.
Why do betta fry hang from the bubble nest?
For the first few days after hatching they hang head-up from the nest while absorbing their yolk sac. They can’t swim properly yet and don’t need feeding until they level out and swim horizontally around day 3–4.
What do you feed newly hatched betta fry?
Nothing for the first 1-2 days while they absorb the yolk sac. Once they swim horizontally, feed infusoria, vinegar eels or liquid fry food in tiny amounts 3-4 times a day.
When can betta fry eat baby brine shrimp?
Usually from about week 2. Keep offering smaller foods alongside for a few days so the smallest fry are not left without food.